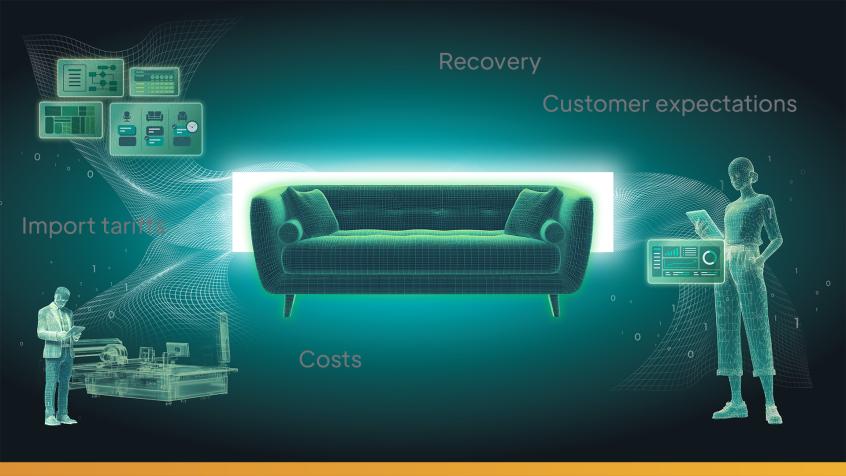
Utilizing 3D Design and pattern flattening to shorten furniture making production cycles
With the rapidly increasing requirement for custom furniture or on-demand fabrication, manual processes are no longer enough to enable profitable production.

Transforming Legacy Furniture Design: Overcoming Inefficiencies with 3D Technology
The biggest disadvantages of legacy furniture design processes are:
- The time it takes to create and iterate on the design.
- The need to almost re-start the entire process to address even the smallest change.
- The excessive lead time and cost associated with any type of “personalized” product.
The transition to 3D design processes, especially the use of integrated 3D to 2D Flattening software coupled with automated textile printing, cutting and assembly practices can have a tremendous impact on production cycle time, and profitability.
3D design: integrating mechanical and fabric component design
In the past the design of mechanical furniture components (i.e. frame and springs) and the fabrics that cover them have been done separately. This also contributed to the production issues and delays described above. New digital design, patterning and production solutions avoid these issues by allowing manufacturers to integrate all the components in a single digital environment. This article provides a walkthrough of the processes and advantages.
Step 1: creating design concepts
The product design process starts in a variety of ways. Typically, it starts with a pencil sketch that evolves into a more complete outline of the finished product. The sketch is then translated into a 3D CAD model so that all aspect of the concept can be reviewed and evaluated. 3D scans of physical samples can also be incorporated into the design capture process.
Step 2: presenting and selling the product
Seeing the product early in the process is critical to ensure customer acceptance and, in many cases, to help identify possible production challenges. The use of 3D CAD models provides a fast and simple way to present the design in a rendered view. With the integration of direct-to-client websites the furniture can even be viewed, approved and purchased without any type of physical prototyping.
Step 3: engineering the solid parts (frame and springs)
After approval comes the engineering and pre-production tasks. 3D CAD tools are well established and well known for strong solid modelling capabilities. In this example the frame and springs are modeled first. Then the cardboard section is added. Once compete this model can be used for further engineering work such as:
- Component count
- Interference checking
- Stress testing
- Production simulations
3D to 2D flattening: streamlining pattern making
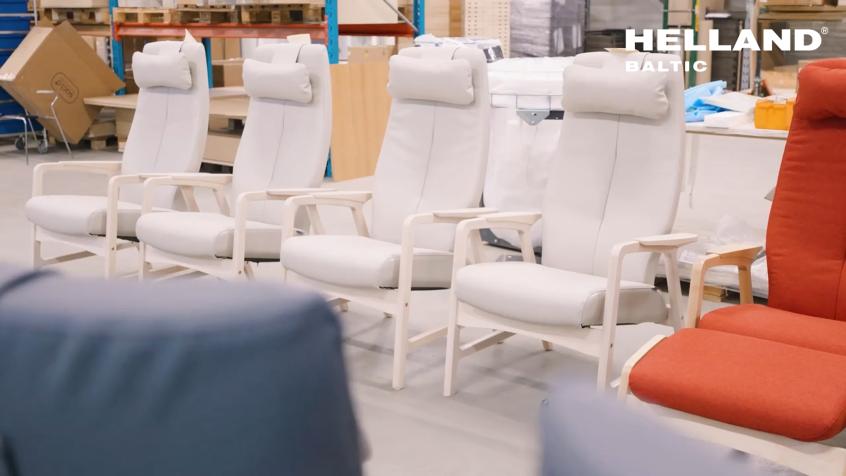
At this point in the process, the digital models developed in the 3D CAD software are used to help define and perfect the soft components of the design. This chair has a wooden frame, springs, and a light cardboard planar surface in the seat. The foam is modeled on top of the planar surface. The fabric layer rests on top of the foam.
ExactFlat digital flattening tools can now be used to directly convert the 3D design model into 2D pattern pieces which are ready to cut and sew. Process steps include:
- Editing or combining 3D faces in the model to define 3D pattern pieces
- Assigning accurate material properties to the pieces to ensure precise fabric behavior
- Flattening the 3D pieces into 2D patterns in minutes
- Validating pattern accuracy and strain/sag or fit before cutting a single piece of fabric
Digital patterning with accumark
The last step is to utilize AccuMark 2D, the gold standard for pattern engineering to the finish the process. AccuMark 2D Pattern Design software provides a fast an effective way for designers to edit pattern shapes and add attributes, such as seam allowances and notches to their patterns. The patterns can then be grouped to indicate the numbers of pieces required to build the item. Nesting rules for pattern placement can be used to create highly efficient markers for cutting, saving fabric and time.

Next steps
Pattern engineering processes are best when closely integrated into the product design ecosystem. It bears repeating the reasons why digital patterning is going mainstream as part of the overall digital design to manufacturing process for furniture:
- It has fewer steps that can be executed faster, saving time.
- The steps are linked together, so effort spent on one step is leveraged everywhere.
All of this means that you can reliably increase profit on every single part made.
While our example is for traditional furniture, the same process would apply for marine, automotive, and other types of seating such as aircraft, buses, and trains. If your company creates products that incorporate soft flexible materials such as composites, vinyl or industrial fabrics, it is time to join your peers in making the transition to 3D digital design and patterning.

Related content